

What You'll Need ;
Fabric (about 2 yards of 3" wide)
Iron-On Letters
Sewing Machine
Scissors or/and rotary cutter, pins, ruler
Iron
I started with an old sash, If you don't have one, the length was about 2 yards and 3 inches thick. (enough to fit the iron-on letters) I traced the sash and doubled my fabric, then cut it out. *I have also seen ribbon being used too*
This is what the old sash looked like.

My two layers of fabric


Tracing both ends and making the whole thing about 3 inches wide for the iron-on letters to fit properly.


Cut out on the lines.

After cutting it out, I sewed the two pieces right sides together at the very top. NOW it will start looking like a real sash!

Next I turned it back to the stitch was on the inside not showing. Iron on the letters that you want, using the instructions of the Iron-On letters.

I used BRIDE.

Now pin, tie it up or you can even sew the bottom together and you have finished your project!!

.......please excuse my nails :|
BUT NOW YOUR DONE!

Now enjoy your night ladies!!!
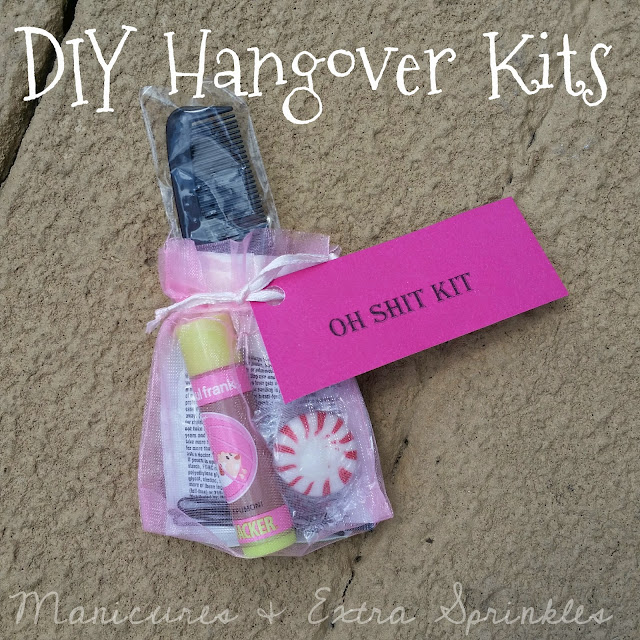
Check out how to make your very own "Oh SH*T" hangover kit too !!
Keep up with me & Let me know your here!
Post a Comment